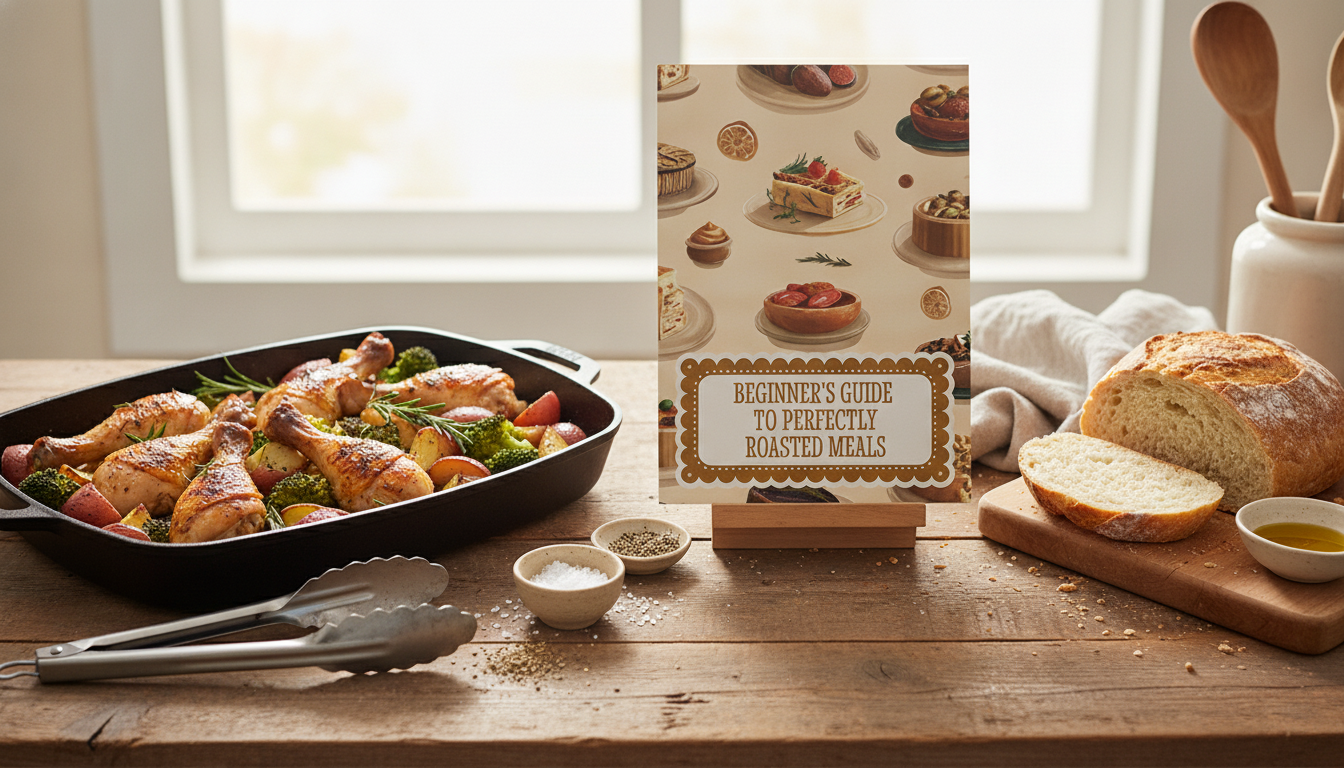
Roasting turns simple ingredients into deeply flavored, crisp-edged, tender-centered meals with minimal hands-on work. With a few fundamentals—proper heat, dry surfaces, smart spacing, and the right timing—beginners can consistently roast vegetables, chicken, fish, and sheet-pan dinners without guesswork.
Roasting uses dry, hot air to brown the outside of food while cooking the inside through. That browning is where a lot of the “roasted” flavor lives: savory, nutty notes and caramelized edges that feel restaurant-level even when the ingredient list is short. The key is dryness and heat—browning reactions happen best when moisture has evaporated and the oven is hot enough to drive color.
Roasting also rewards patience and restraint. Fully preheat the oven, don’t crowd the pan, and give food time to develop color before you stir, flip, or poke. When you let the surface sear against a hot pan and hot air, the payoff is crispness without deep frying.
You can roast with almost any oven-safe pan, but a few basics make results more consistent (and cleanup far less annoying).
| Item | Why it helps |
|---|---|
| Rimmed sheet pan | Even heat and safe space for tossing ingredients |
| Instant-read thermometer | Confident doneness for poultry, pork, fish, and leftovers |
| Parchment/foil | Easy cleanup; reduces sticking |
| Tongs/spatula | Flip and turn without tearing food |
For quick measuring and sauces (especially for pan drippings or dressings), the Glass Measuring Espresso & Milk Cup with Handle is handy when you want to portion lemon juice, vinegar, or broth without guessing.
Roasting starts before food hits the oven. Preheat fully and start timing only once the oven reaches temperature. Most roasting works best on the middle rack, where air circulates evenly; if you want extra browning at the end, move the pan up one rack for the last few minutes.
When cooking proteins, confirm safe internal temperatures with a thermometer. The USDA’s minimum internal temperature chart is a reliable reference: USDA Food Safety and Inspection Service.
If you’re choosing an everyday roasting oil, look for one that suits your heat level and flavor preference. Harvard’s overview of cooking oils is a useful guide: Harvard T.H. Chan School of Public Health.
| Start first | Add halfway | Add near the end |
|---|---|---|
| Potatoes, carrots, beets | Chicken thighs, sausages, Brussels sprouts | Asparagus, green beans, fish fillets |
For more structured meal templates and finishing ideas that keep weeknights simple, Fresh Flavors Made Simple with Low Carb Recipes pairs well with roasted proteins and vegetables.
| Food | Oven setting | Typical timing | Doneness cue |
|---|---|---|---|
| Broccoli florets | 425°F | 15–20 min | Crisp edges, bright green centers |
| Potato chunks (1-inch) | 425°F | 30–40 min | Golden outside, tender through |
| Chicken thighs (bone-in) | 425°F | 30–40 min | 165°F+ internal; juices run clear |
| Salmon fillet | 425°F | 10–14 min | Flakes easily; still moist |
| Pork chops (1-inch) | 400°F | 15–22 min | 145°F internal; rest before slicing |
If you want a deeper dive into vegetable texture and browning, this overview is helpful: Serious Eats (The Food Lab) on roasting vegetables.
| Base | For 1 sheet pan of vegetables | For 4 portions of protein |
|---|---|---|
| Oil + salt | 1–2 tbsp oil + 1/2 tsp salt | 1 tbsp oil + 3/4 tsp salt |
| Acid finish | 1–2 tsp lemon/vinegar | 1 tsp lemon/vinegar after resting |
| Combo | How to run it | Finish |
|---|---|---|
| Chicken thighs + potatoes + broccoli | Start potatoes 15 min, add chicken, add broccoli for final 15 min | Lemon + herbs |
| Sausage + peppers/onions + zucchini | Start peppers/onions 10 min, add sausage and zucchini | Vinegar + mustard |
| Salmon + asparagus + cherry tomatoes | Start tomatoes 5 min, add salmon and asparagus | Yogurt + dill |
When you’re ready to take the same “set it and nail it” mindset outdoors, The Backyard Grilling Master Checklist keeps timing, heat zones, and doneness cues straightforward.
Sogginess usually comes from steaming: the pan is overcrowded, the vegetables are wet, the oven is running cool, or there’s too much oil pooling. Dry the vegetables well, roast at 425–450°F, spread into a single layer (use two pans if needed), and salt right before roasting—especially for watery vegetables.
Convection can be better because the fan speeds up browning and can shorten cooking time. Reduce the set temperature by about 25°F, start checking earlier than usual, and rotate pans if you’re roasting multiple trays for even color.
Use an instant-read thermometer in the thickest part (avoid bone) and rest the chicken 5–10 minutes before serving. For safety, follow recommended internal temperatures (165°F for poultry), and look for clear juices and firm, springy texture alongside browned skin.








Leave a comment