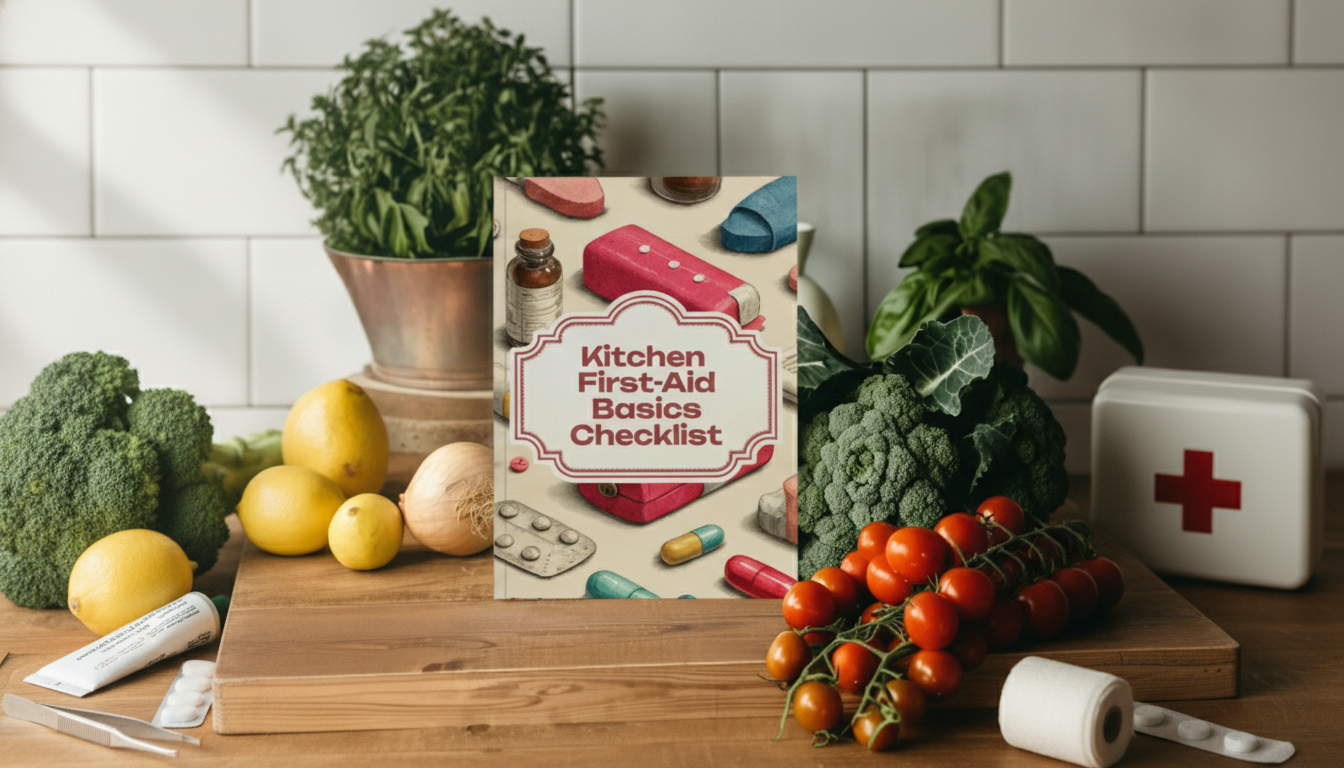
Kitchen First-Aid Basics Checklist: A Printable Guide for Safer Cooking at Home
Small kitchen mishaps can escalate fast without a plan. A clear, printable checklist helps stock the right supplies, remember key steps for common injuries, and keep emergency information accessible—especially for beginners, busy families, and anyone who cooks often. The goal is simple: reduce panic, speed up safe action, and make sure you’re not rummaging through drawers while someone needs help. For more guidance, see [PDF] Explore Book Series – Food & Nutrition – Kitchen Safety – Texas 4-H.
Why a kitchen-specific first-aid checklist matters
Kitchens create a unique mix of risks—sharp tools, heat, steam, hot oil, slippery floors, and common allergens—all in a fast-paced environment. Injuries like burns, cuts, choking, and allergic reactions are often time-sensitive, and the difference between “handled” and “hospital” can come down to quick, calm first steps. For further reading, see [PDF] Kitchen Companion: Your Safe Food Handbook.
A checklist reduces guesswork when stress is high. It also helps keep essentials from silently running out (bandages, antiseptic wipes, gloves) and makes restocking predictable. Posting a printed copy inside a cabinet door, pantry, or near the fridge turns it into a true “grab-and-go” reference, while a digital file is easy to reprint after spills, stains, updates, or seasonal refreshes.
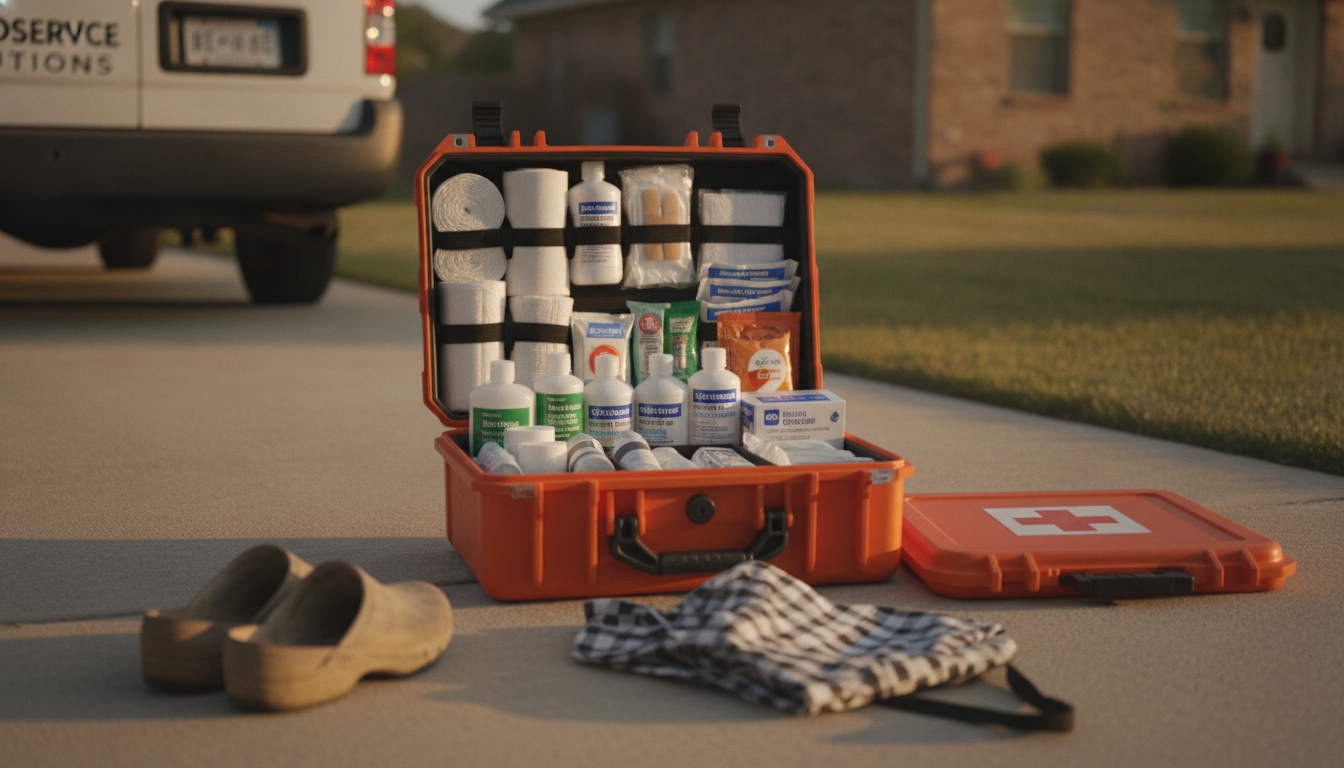
What to include in a kitchen first-aid kit (essentials)
Focus your kit on injuries most likely to happen during cooking and cleanup:
- Wound care: assorted adhesive bandages, sterile gauze pads, medical tape, antiseptic wipes, antibiotic ointment (if tolerated), and disposable gloves.
- Burn care: clean cloths for cool compresses, nonstick sterile pads, and aloe vera gel (optional; avoid on severe burns).
- Tools: blunt-tip scissors, tweezers, a digital thermometer, and a small flashlight/headlamp for power outages.
- Protection and cleanup: hand sanitizer, saline wound wash, and a sealable bag for waste.
- Comfort: instant cold pack for minor bumps; pain reliever options appropriate for the household (check contraindications).
- For families: child-safe bandages, pediatric dosing tools (syringe/cup), and clinician-provided weight-based dosing guidance.
- Allergy readiness: an antihistamine as appropriate; for prescribed epinephrine auto-injectors, store per label and track expiration.
Kitchen First-Aid Kit Checklist (quick print view)
| Category |
Item |
Minimum to Keep |
Notes |
| Cuts & scrapes |
Assorted bandages |
20+ |
Include knuckle/fingertip styles for kitchen work |
| Cuts & scrapes |
Sterile gauze pads |
10 |
For larger wounds or pressure dressing |
| Cuts & scrapes |
Medical tape |
1 roll |
Secures gauze; choose skin-friendly tape |
| Hygiene |
Antiseptic wipes |
10 |
Clean surrounding skin; avoid deep punctures |
| Protection |
Nitrile gloves |
4–10 pairs |
Use for blood/body fluid cleanup |
| Tools |
Tweezers |
1 |
Splinters/fish bones (surface only) |
| Tools |
Scissors (blunt-tip) |
1 |
Cut tape/gauze; keep clean and dry |
| Burns |
Nonstick sterile pads |
5 |
Cover minor burns after cooling |
| Cold therapy |
Instant cold pack |
1–2 |
For bumps/sprains; follow directions |
| Reference |
Emergency contacts card |
1 |
Poison control, pediatrician, allergies, meds |
Common kitchen emergencies and what to do first
These are fast “first actions” that buy time and reduce harm. For full first-aid guidance and training, use reputable resources like the American Red Cross first aid steps.
- Minor cuts: Apply direct pressure with clean gauze and elevate if possible. Rinse with clean running water once bleeding slows, then cover with a sterile dressing.
- Bleeding that won’t stop: Keep firm pressure for several minutes without “checking” constantly. Get urgent care for heavy bleeding, spurting blood, or bleeding that persists.
- Minor burns (first-degree): Cool the area with cool (not icy) running water for about 10–20 minutes. Remove rings/jewelry before swelling and cover loosely with a clean, nonstick dressing. The CDC’s burn prevention and safety guidance is a helpful reference.
- More serious burns: Seek medical care for large, blistering, deep, chemical, or electrical burns—or burns on the face, hands, genitals, major joints, or in very young/older individuals.
- Choking: If a person can’t cough, speak, or breathe, begin abdominal thrusts (or back blows/chest thrusts for infants) and call emergency services. Review the American Heart Association choking response so the steps are familiar before an emergency.
- Allergic reaction: Watch for trouble breathing, swelling of lips/tongue, widespread hives, vomiting, or dizziness. Use prescribed epinephrine immediately and call emergency services.
- Eye splash (oil/cleaner): Flush with clean water for 15 minutes, avoid rubbing, and seek medical advice—especially with chemicals.
Placement, labeling, and family readiness
Restocking and expiration routine that actually sticks
Printable checklist: how to use the digital download day-to-day
Helpful add-ons for cooking enthusiasts
Useful kitchen picks for safer routines
FAQ
What’s the first step for a minor kitchen burn?
Cool the burn with cool running water for about 10–20 minutes, remove tight jewelry before swelling, then cover loosely with a clean nonstick dressing. Seek care for large or severe burns.
How often should a kitchen first-aid kit be checked?
Do a quick check every 3 months and restock immediately after use. Replace expired wipes, ointments, and any medications according to the label.
What should be posted next to the checklist for emergencies?
Post emergency numbers (local emergency services and poison control), household allergy notes, key medical conditions, and where critical medications (like epinephrine) are stored.
Recommended for you










Leave a comment