HomeBlogBlogBaking Basics Checklist: Tools, Staples & Easy Tips

Baking Basics Checklist: Tools, Staples & Easy Tips

Baking Basics Checklist: Tools, Staples & Easy Tips

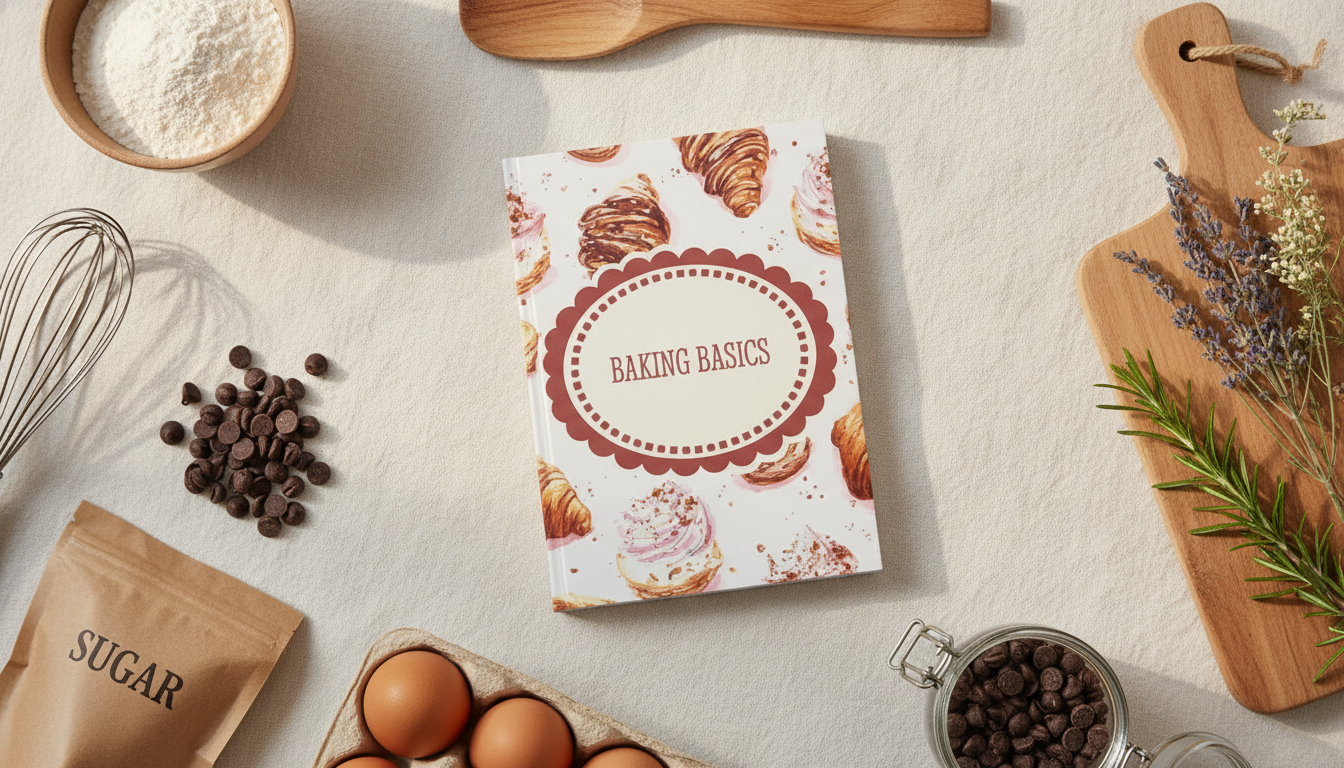
Baking Basics Checklist: A Beginner-Friendly Guide for Confident Home Baking

Starting to bake at home gets much easier with a simple, repeatable routine: stock the right staples, measure correctly, understand mixing basics, and use reliable bake-time checks. This guide breaks down the essentials into an easy checklist you can save, print, or reference while baking, plus quick tips that prevent the most common beginner mistakes.

What to Set Up Before Turning on the Oven

A calm setup is the fastest way to better results. Most “mystery” baking problems trace back to rushed prep: the oven wasn’t fully hot, the pan wasn’t ready, or an ingredient was the wrong temperature.

  • Read the full recipe once, then again while looking at your ingredients and tools.
  • Clear counter space and set out bowls, pans, and measuring tools before starting.
  • Bring ingredients to the temperature the recipe expects (often room-temperature butter, eggs, and dairy).
  • Preheat the oven early and place the rack where the recipe indicates (center is most common).
  • Prepare pans properly: grease, line with parchment, or dust with flour/cocoa as needed.
  • Set a timer for each stage (mixing, chilling, baking, cooling) to avoid rushing.

Quick Pre-Bake Checklist

Step Why it matters Fast tip
Preheat oven Stable heat affects rise and texture Give it 15–25 minutes; use an oven thermometer if bakes seem inconsistent
Prep pan Prevents sticking and tearing Parchment rounds make cakes release cleanly
Weigh or level ingredients Accuracy improves consistency Level cups with a straight edge; weigh flour when possible
Check ingredient temps Mixing and emulsifying work better Cold butter is for biscuits; soft butter is for creaming
Set timers Avoids overmixing and overbaking Use one timer for bake time and one for check time

Pantry and Fridge Staples That Make Baking Easier

Keeping a small set of reliable staples on hand reduces last-minute substitutions (and surprises). When possible, store flour airtight and label leaveners with an “opened on” date.

  • Flour basics: all-purpose for most bakes; bread flour for chewy yeast doughs; cake flour for tender cakes when specified. For weight-based guidance, use King Arthur Baking’s ingredient weight chart.
  • Sweeteners: granulated sugar for structure; brown sugar for moisture and flavor; powdered sugar for frostings.
  • Leaveners: baking powder and baking soda are not interchangeable—check the recipe and freshness dates.
  • Salt: improves flavor and balances sweetness; fine salt distributes more evenly in batters.
  • Fats: unsalted butter offers control over salt; neutral oil keeps cakes moist; shortening can improve cookie shape.
  • Eggs and dairy: eggs add structure and richness; milk/buttermilk affect tenderness and browning. Store perishables safely (see USDA refrigeration guidance).
  • Flavor builders: vanilla extract, cocoa powder, cinnamon, citrus zest, and chocolate chips cover many beginner recipes.

Tools Worth Having (and What Can Substitute)

You don’t need a professional kitchen to bake well, but a few tools make your results more predictable. If you buy only one upgrade, make it accuracy-related.

  • Measuring: a digital scale (most helpful upgrade), dry measuring cups, liquid measuring cup, and measuring spoons.
  • Mixing: two mixing bowls (one medium, one large), whisk, silicone spatula, and a hand mixer or stand mixer if available.
  • Baking: rimmed sheet pan, 8×8 or 9×13 pan, 9-inch round cake pan, loaf pan, muffin tin, and cooling rack.
  • Finishing: parchment paper, offset spatula (nice-to-have), and a thermometer for quick doneness checks.
  • Smart substitutions: a fork can whisk small batches; a jar can roll dough in a pinch; parchment can replace extra greasing in many recipes.

If you want an easy, everyday liquid-measuring option, the Glass Measuring Espresso & Milk Cup with Handle is handy for small batches, glazes, and recipes that call for precise tablespoons-to-ounces conversions.

Measuring and Mixing: The Small Steps That Change Results

Think of baking as controlled chemistry: the same ingredients can turn out fluffy, chewy, or tough depending on how they’re measured and mixed.

For new bakers, a simple way to build consistency is to pre-portion your “go-to” pantry items (flour, sugar, cocoa) and keep your measuring gear together. If meal planning is part of your routine, Fresh Flavors Made Simple with Low Carb Recipes (Digital Download) can help streamline weekly shopping so you’re less likely to run short on basics.

Oven and Bake-Time Basics: How to Know When It’s Done

Beginner Troubleshooting: Fast Fixes for Common Problems

A Simple Routine to Build Baking Confidence

FAQ

What are the most important baking tools for a beginner?

Prioritize accuracy and consistency: a kitchen scale, a liquid measuring cup, dry cups/spoons, mixing bowls, a whisk/spatula, a sheet pan, and a cooling rack. Add a hand mixer later if you bake often or make frosting regularly.

Why did my cookies spread too thin?

Warm dough, a hot baking sheet, too little flour, or butter that’s too soft/melted are the most common causes. Chill the dough for 20–40 minutes and bake on a cool, parchment-lined pan to reduce spread.

How can I tell if my baking powder or baking soda is still active?

For baking powder, stir a small amount into hot water and look for vigorous bubbling. For baking soda, add a little vinegar or lemon juice and look for fizz; replace if the reaction is weak.

Was this article helpful?

Yes No
Leave a comment
Top

Shopping cart

×